Nail art turns your fingertips into tiny canvases. It lets you show off your personality with every gesture. From simple dots to wild patterns, this beauty trend has exploded in popularity. The global nail art market hit $12 billion in 2025, and it’s still growing fast. People love it because it’s an easy way to express yourself without much effort. In this guide, we’ll cover everything from basics to bold designs. Get ready to level up your nail game.
Mastering the Foundations: Essential Nail Art Prep and Care
Start with strong basics. They make or break your nail art results. Skip these steps, and your designs might chip or fade quick.
Perfect Polish Application: The Base to Brilliance
Prep sets the stage for flawless nail art. Begin by soaking your hands in warm water. Push back cuticles gently with a wooden stick. Don’t cut them—that can lead to infections.
Shape your nails to fit your style. Almond shapes look sleek and long. Square ones give a clean, modern vibe. Coffin tips add drama for evenings out. File from the side to center. This prevents splits.
Buff the surface lightly. It smooths ridges but don’t overdo it. Over-buffing weakens your natural nails. Moisturize after to keep them healthy. A clean canvas means your colors pop brighter.
Choosing Your Canvas: Gel vs. Traditional Polish
Pick the right polish type for your lifestyle. Traditional polish dries in air. It’s quick but lasts just a week. Gel needs a UV lamp to cure. It shines for up to three weeks without chips.
Gel suits busy folks. It holds up to typing and chores. But removal takes soaking in acetone. Traditional polish wipes off easy with a cotton pad. Go easy on nails if you change looks often.
Builder gel builds strength for tricky shapes. Use it on short nails to add length. It mimics a salon finish at home. Match your choice to how active your hands stay.
Essential Toolkit for Nail Art Beginners and Pros
Gather tools that fit your skill level. Basic polishes come first—reds, nudes, and blacks work for most designs. Dotting tools create perfect circles for flowers or polka dots.
Striping brushes draw thin lines. They’re key for French tips or geometrics. Nail art foils add metallic shine. Press them on wet polish and peel off for instant glam. Fine-tipped tweezers place tiny gems without mess.
Invest in good brushes. Cheap ones shed hairs mid-design. Save on storage cases if you want. A simple box keeps everything tidy. Start small, then expand as you practice.
Current Nail Art Trends Shaping the Industry
Trends keep nail art fresh and fun. They pull from fashion and pop culture. Let’s dive into what’s hot right now.
Minimalist Mastery: The Quiet Luxury of Nails
Less is more in minimalist nail art. Think clean lines and soft shades. The micro-French tip shortens the white edge for a subtle twist. It looks chic on bare skin tones.
Negative space designs leave parts of the nail unpainted. Add a single gold stripe for pop. Sheer nudes with tiny accents suit office days. These styles echo high-end runway looks.
Color blocking keeps it simple. Use two shades per nail. Subtle metallic flecks catch the light just right. They’re easy to do at home and feel elegant.
Maximalist Movement: Bold Colors and Textures
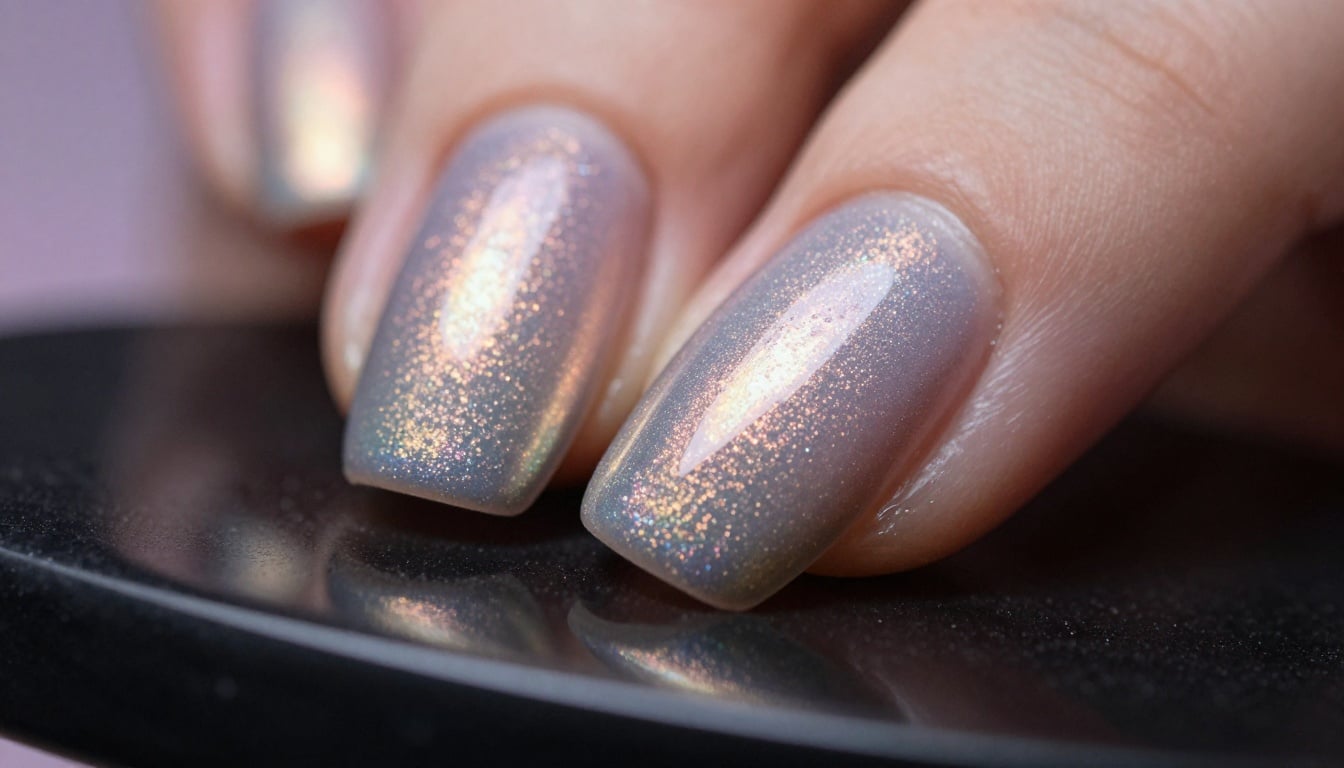
Go big with maximalist nail art. Y2K vibes bring back neon pinks and chunky glitter. Chrome finishes reflect light like mirrors. They scream party ready.
Add 3D charms like stars or hearts. Glue them secure for all-day wear. Textured polishes mimic velvet or sand. Magnetic cat-eye effects swirl colors with a magnet tool.
Sugar spun looks feel gritty and fun. Dip nails in sugar-like powder after base coat. Multi-chrome polishes shift hues as you move. These bold choices turn heads.
Seasonal Shifts: Adapting Art for the Time of Year
Nails change with the seasons. Match your art to weather and holidays. In fall, deep jewel tones like emerald green shine. Add leaf motifs with a thin brush.
Spring calls for pastels. Soft pinks and blues bloom with floral stamps. Summer gradients fade from yellow to turquoise. They mimic beach sunsets.
For winter, place glitter at the tips. It sparkles like fresh snow. Holiday themes use red and gold swirls. Adjust palettes easy—swap colors and tweak designs.
Advanced Nail Art Techniques Unveiled
Ready for more? These methods build on basics. They create pro-level results with practice.
Precision Work: Mastering Freehand Painting
Freehand painting demands steady hands. Thin your polish with a drop of alcohol. It flows better for fine lines.
Load the brush light. Start with gentle pressure for crisp edges. Practice florals on paper first. Petals form with curved strokes.
Abstract lines add edge. Use tape for straight guides if needed. Common mistakes? Too much polish blobs the design. Wipe excess and try again. Patience pays off here.
Dimension and Depth: Integrating Charms and Decals
Layer elements for 3D nail art. Rhinestones catch eyes when placed at the base. Use builder gel to stick them firm. It dries hard and holds weight.
Metallic flakes scatter like confetti. Dab them on tacky polish layers. Decals peel and stick easy. Soak water slides them off backing.
Balance is key. Cluster gems on one nail only. Too many weigh down the look. Seal with top coat for stay-put power.
The Ombré Effect: From Sponge to Airbrush Simulation
Ombré fades colors smooth. Sponge the classic way. Dampen a makeup sponge. Dab two polishes side by side.
Press lightly on the nail. Layer until blended. Clean edges with a brush. For airbrush feel, layer thin coats. Let each dry partway.
Blend before full dry. Warm tones to cool create sunsets. Cool blues to purples evoke oceans. Experiment with sponges of different sizes.
Longevity and Maintenance: Keeping Your Art Flawless
Your designs last longer with care. Follow these tips to avoid early chips.
Sealing the Deal: The Importance of Top Coats
Top coats lock in your nail art. High-gloss ones shine like glass. Matte versions give a soft, velvety finish.
Quick-dry types set in minutes. Always cap the free edge. Brush over the tip to seal against breaks.
Reapply every few days. It freshens shine and fights wear. Pick based on your design—gloss boosts metallics, matte hides flaws.
Protecting Your Masterpiece: Daily Habits
Shield nails from daily threats. Wear gloves for dishes or cleaning. Harsh soaps strip polish fast.
Avoid soaking hands long. Quick rinses beat bubble baths. Bump guards like clear base help too.
Moisturize cuticles often. Dry skin cracks the seal. These habits keep art intact longer.
Safe Removal: Protecting Nail Health Post-Art
Remove right to save your nails. For traditional polish, soak cotton in remover. Hold five minutes, then wipe gentle.
Gel needs more time. Soak ten to fifteen in acetone. Don’t scrape— it thins the plate.
After, rub oil in. It restores moisture. Hydrate with creams daily. Strong nails welcome the next design.
Conclusion: Your Next Nail Art Adventure Awaits
We’ve walked through nail art from prep to pro tips. Strong foundations ensure healthy nails. Trends like minimalism and bold chromes offer endless options. Techniques such as ombré and freehand open creative doors. Maintenance keeps your looks fresh.
Key points? Prioritize nail health always. Experiment to find your style. Consistency builds skills fast. Grab your tools and try a new design today. Your hands deserve that personal touch.